

How do I record my screen on Mac with Noted?
Published on Last updated
Short answer
Click the Screen Recording icon on the Mac toolbar, choose the screen or window and press Record. Noted captures the screen, its audio and your microphone into the note, with everything you type time-stamped.
Our Screen Recording feature allows you to easily capture your computer screen or online meetings, such as Zoom, Microsoft Teams and Google Meet directly from the Noted Mac app.
Where can I find this Screen Recording feature?
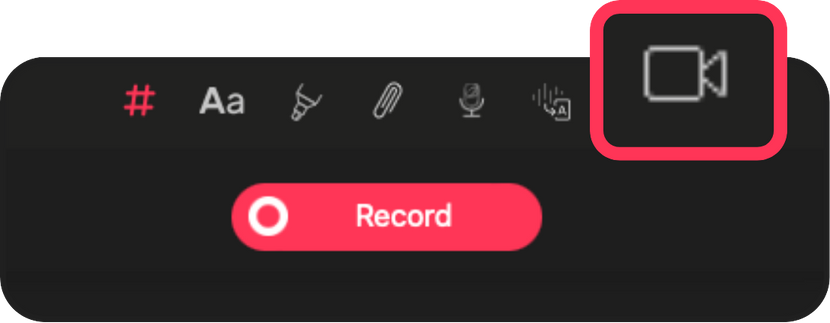
You can find this icon at your top toolbar (next to the Transcribe icon)
How do I use it?
- Click the Screen Recording Icon: Find the icon in the top toolbar (next to the transcribe icon)
- Select Your Preferences: Choose your recording settings to tailor the capture to your needs.
- Start Recording: Begin recording your meeting with a single click.
- Review Your Recording: When the meeting ends, hit Play to relive all your captured moments!
Do I need permission from the meeting host to record?
No, you do not need permission from the host to record the meeting. Simply click the Screen Recording icon and select your preference options.
Is this available to all users?
Yes, it is available to all Noted+ Plans (including free trials). You can view your recording on iOS app too!
To use the feature, your Mac should be running one of these operating systems:
- macOS Sonoma (14.0)
- Any subsequent versions of macOS
What should I do if I encounter any issues?
If you encounter any issues, please reach out to our support team at support@notedapp.io.